Roman & Soft Roman Blinds
Roman Blinds
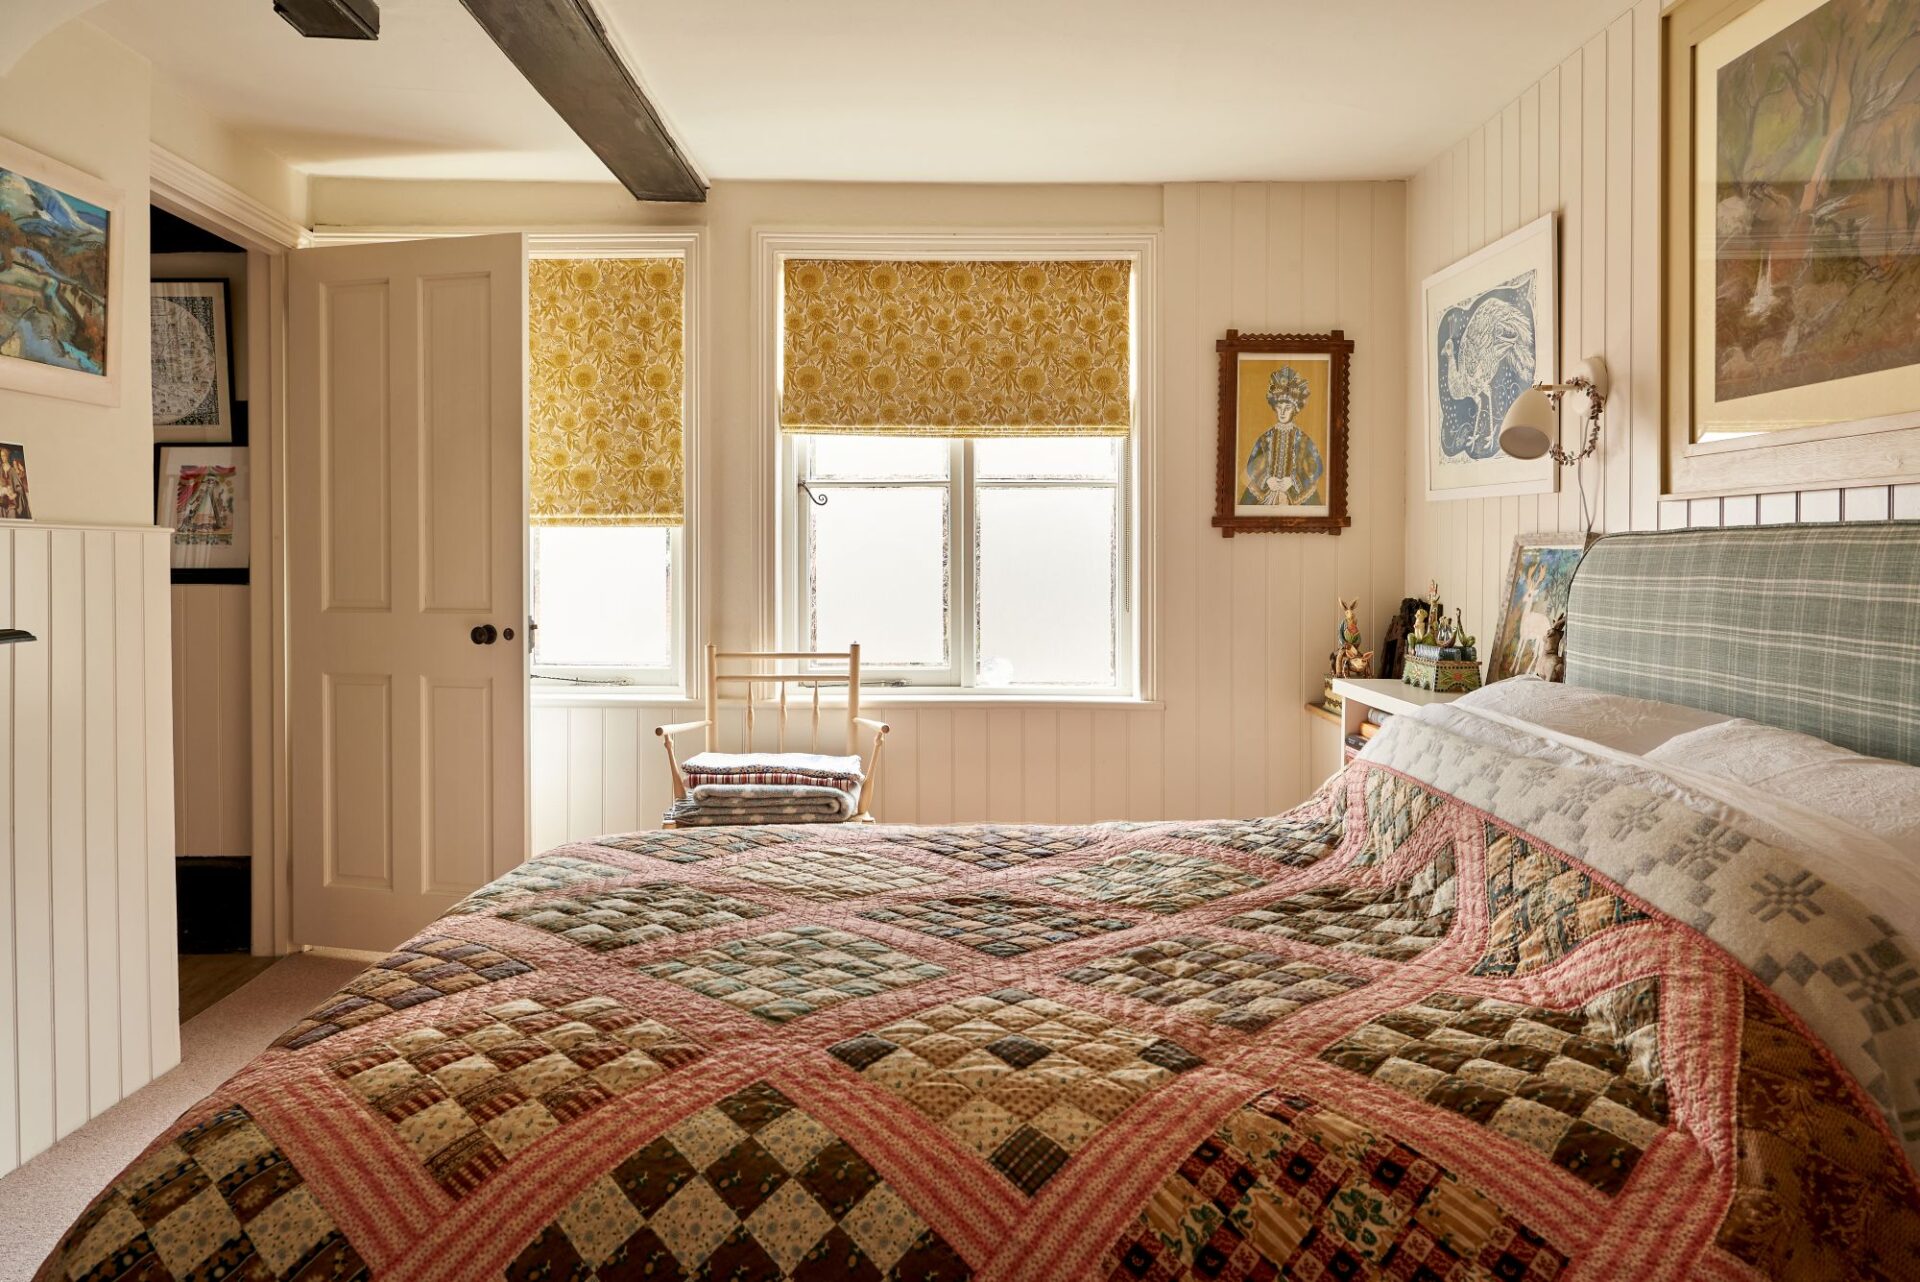
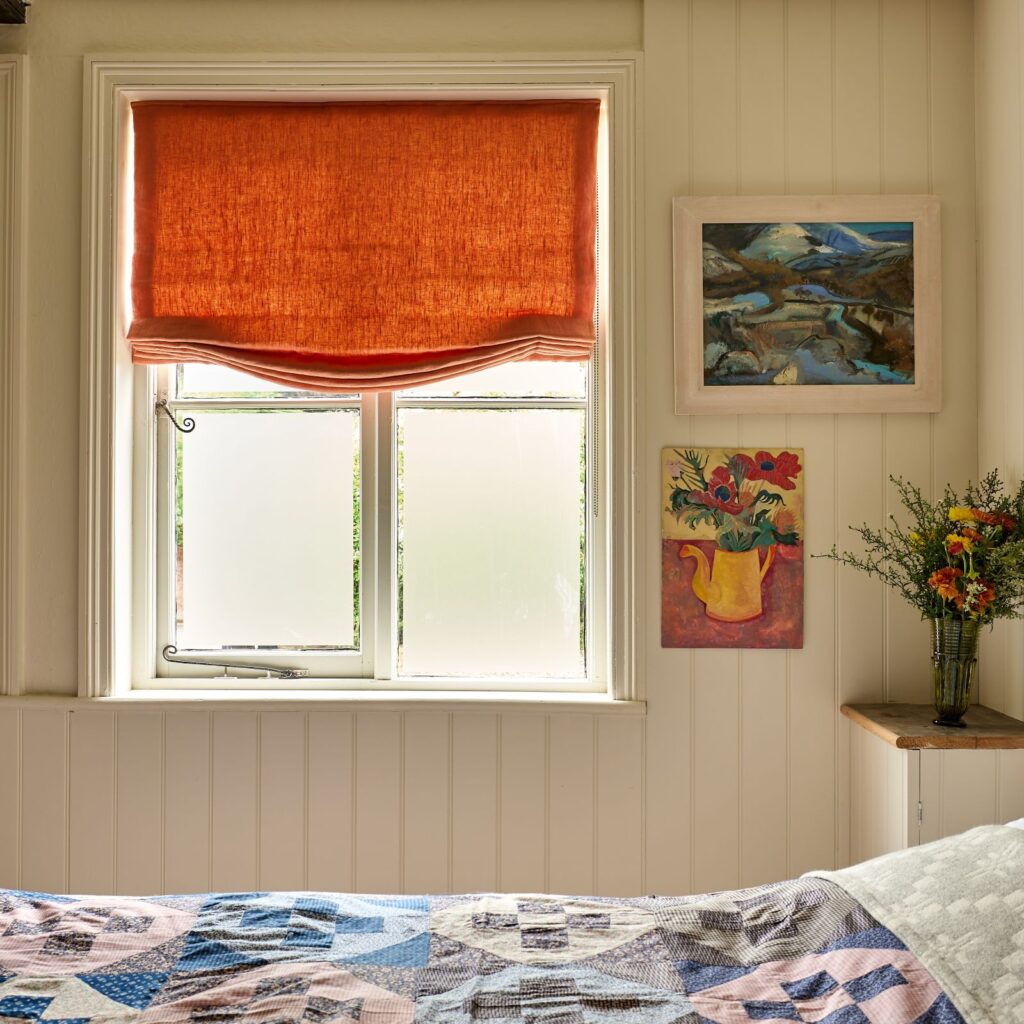
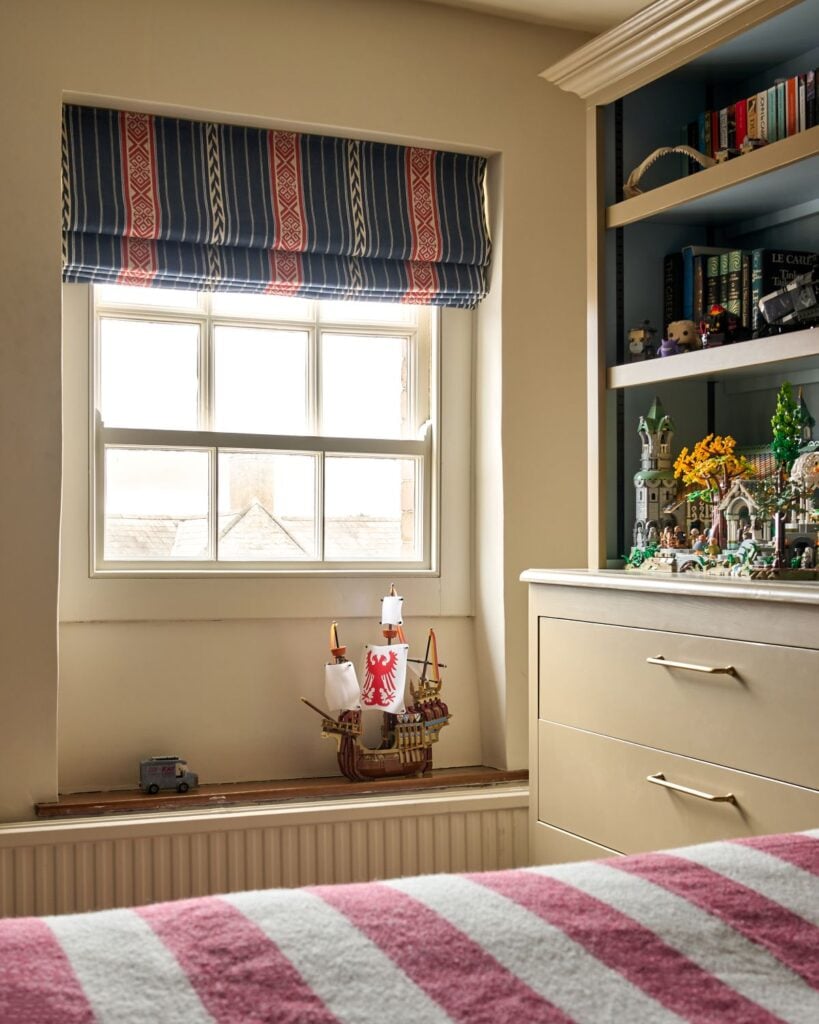
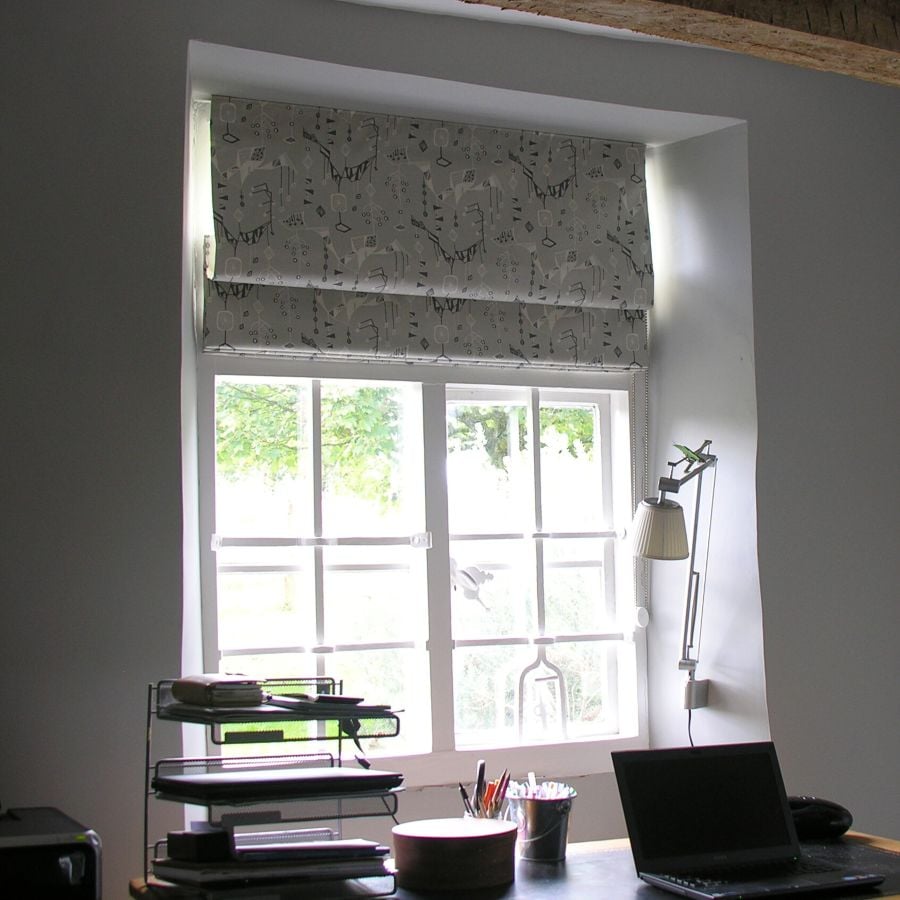
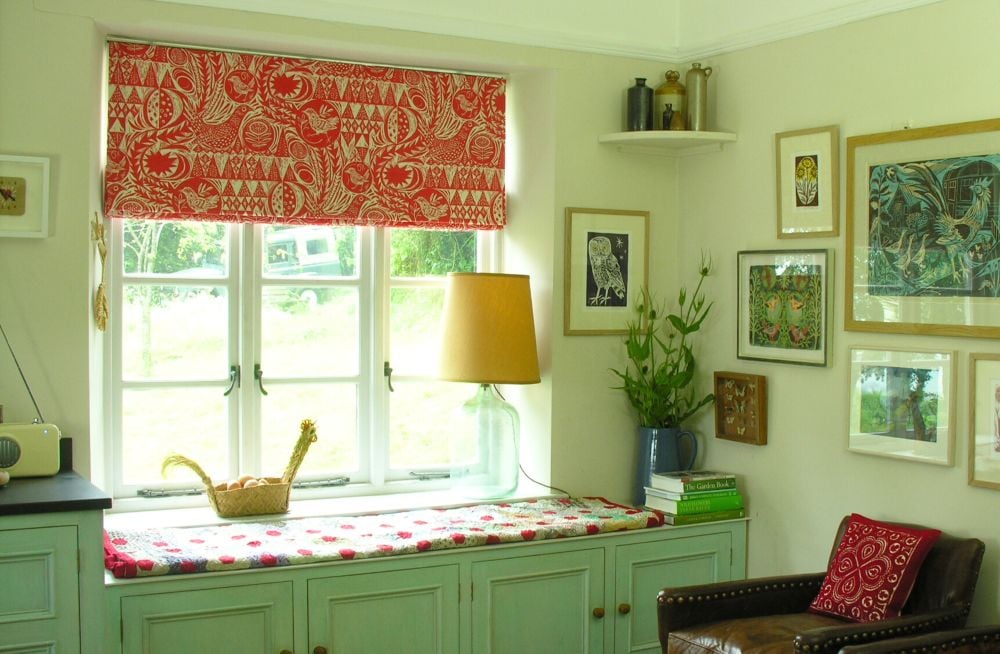
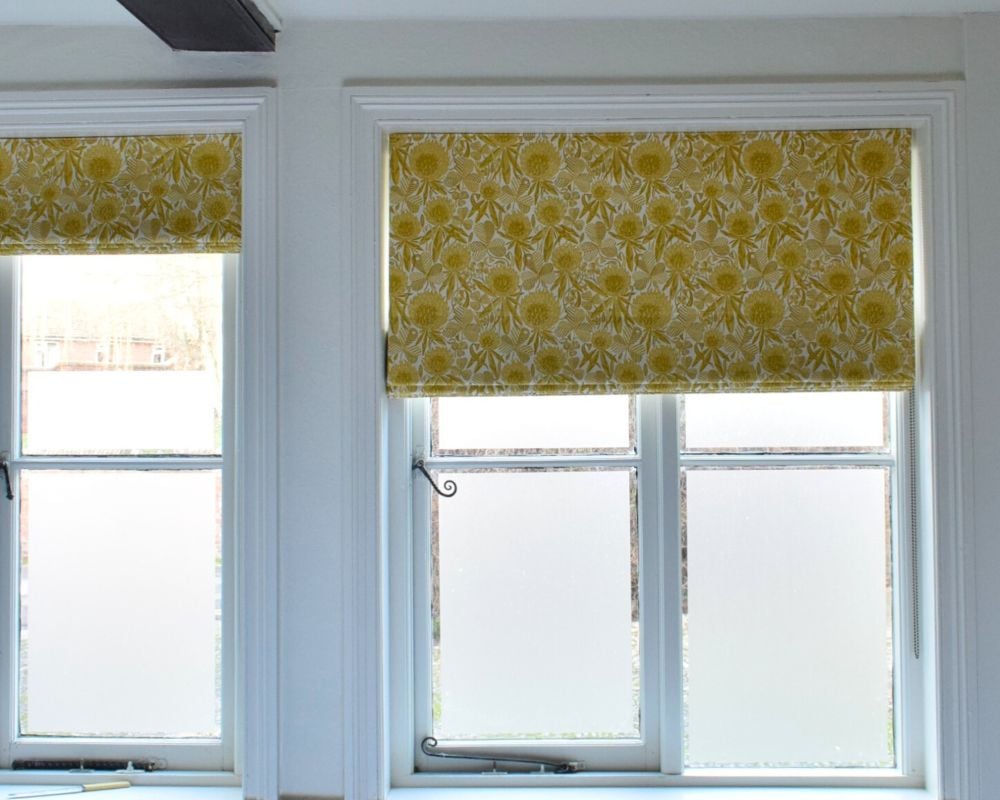
Roman Blinds raise in neat horizontal folds providing a smart tailored appearance. Tinsmiths Roman Blinds are lined & blackout thermal interlined as standard, with three layers of fabric making up the blind, a good thermal gain for the room is ensured. Roman Blinds have rods stitched in pockets in the blind lining which ensure neat folds.
Roman Blinds can be fitted on the inside or outside of a window recess and consideration about which will work best for a window should be made prior to measuring. Blinds fitted within a window recess provide a neat resolution and are best for light exclusion (important for bedrooms). Roman Blinds fitted outside the window recess can be mounted up to 5 inches above the window, so that when raised they fold up ensuring that all available light enters the room. If you are fitting your blinds outside the window recess we can make them with a neat heading that wraps around the side of the headrail.
When your Tinsmiths Roman Blinds arrive, they will be fitted to a raising mechanism headrail with a side chain for raising and lowering.
Soft Roman Blinds
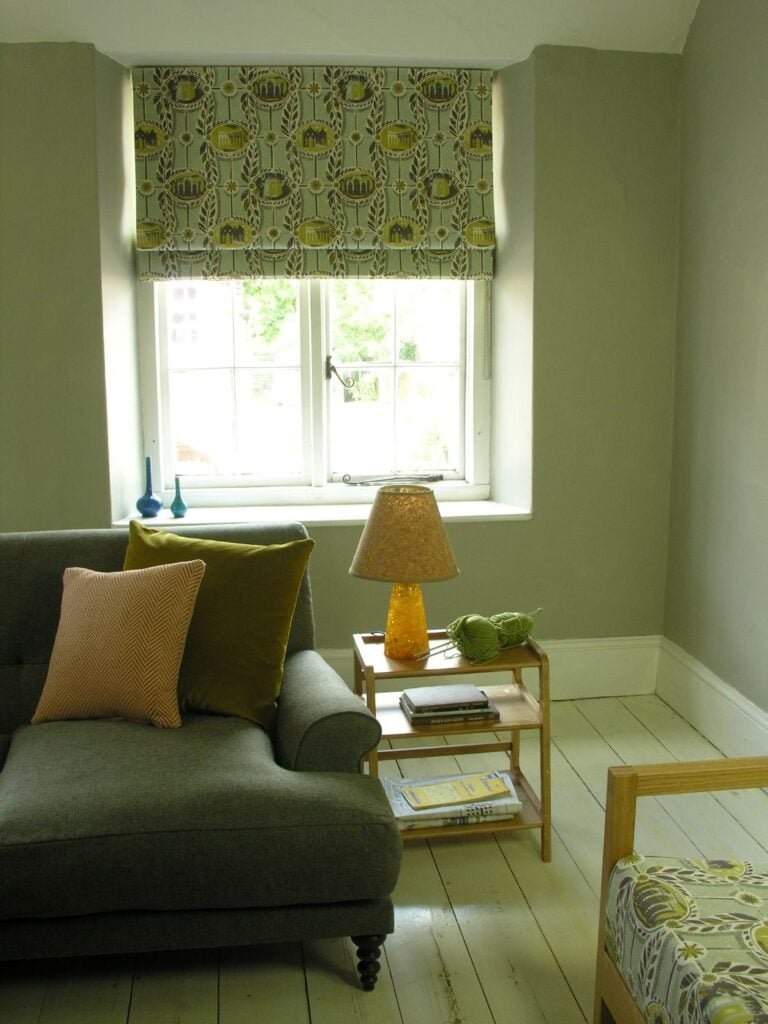
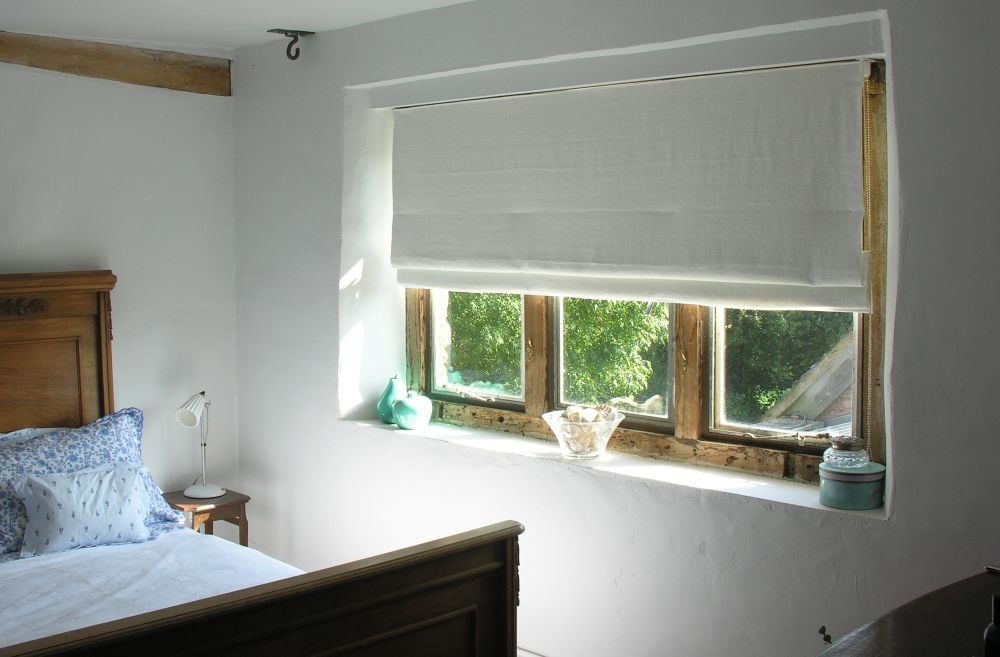
Tinsmiths Soft Roman Blinds are lined & interlined. They do not have the horizontal rods like Roman Blinds and so raise in soft horizontal folds with a slight centre swag to provide a more informal appearance. Soft Roman Blinds will have just 2 ring lines on the reverse of the blind, again allowing for the slight centre dip or swag
Soft Roman Blinds are suitable for windows with a width less than 120cm. Not all fabrics will successfully make a Soft Roman blind as a good softness is required to obtain the drape. Blackout interlining or lining is also problematic as blackout lining is generally stiff and does works against the desired drape required for a Soft Roman Blind.
Soft Roman Blinds can be fitted on the inside or outside of a window recess and consideration about which will work best for a window should be made prior to measuring.
When your Soft Tinsmiths Roman Blinds arrive, they will be fitted to a raising mechanism headrail with a side chain for raising and lowering.
Measuring
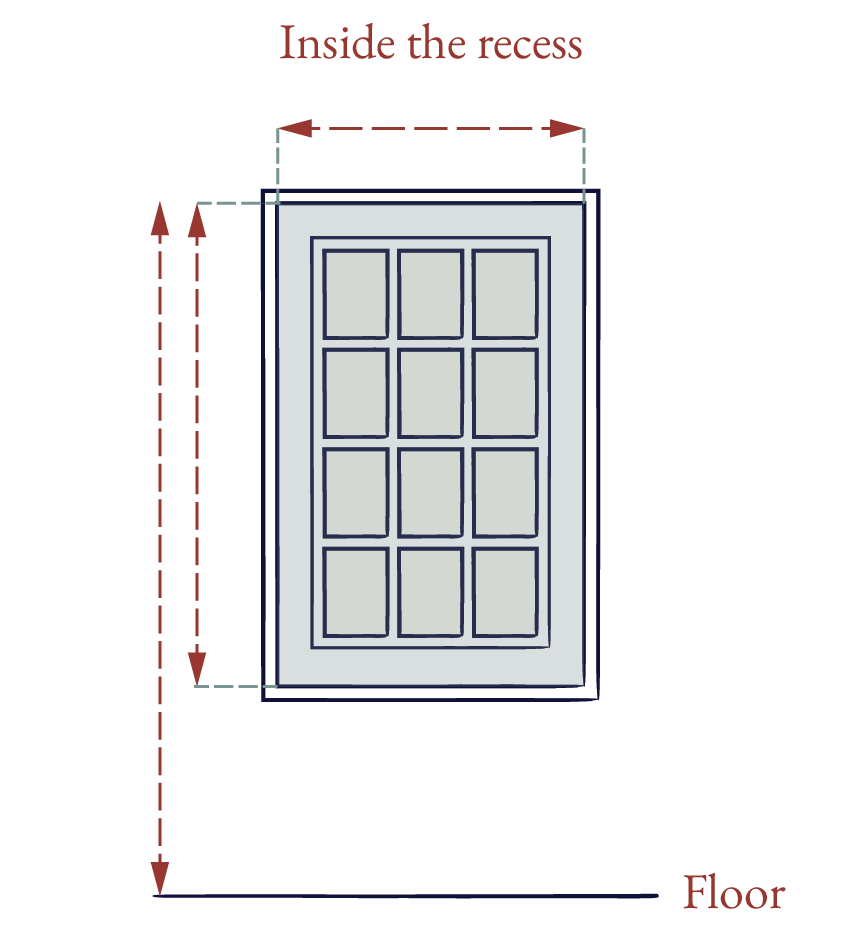
For a Roman Blind to be fitted within the recess:
We require
Width Measurement: Measure the recess at the top, middle and bottom (older properties can have variance) take the smallest measurement of the three and deduct 1cm to ensure clearance for the blind to raise and lower smoothly.
Length Measurement: Measure the recess from the top to the bottom. Do not deduct anything – this is the finished length of your blind.
Floor to Top of Blind Measurement: This is the measurement from the floor to the top of your blind. This measurement is required in order that we ensure that your blind fulfils the specification required by BS EN 13120 Child Safety regulation.

For a Roman Blind to be fitted outside the recess
We require
Width Measurement: Decide what width will suit the window best, we would suggest the width of the windowsill as a likely suitable width.
Length Measurement: We recommend that the top of the blind be set 10-15cm above the window and that a further 5cm is added to the length so that the blind sits below the sill, however if the window sill projects more than 5cm into the room the blind will need to stop on the sill.
Floor to Top of Blind Measurement: This is the measurement from the floor to the top of your blind. This measurement is required in order that we ensure that your blind fulfils the specification required by BS EN 13120 Child Safety regulation.
Tinsmith’s Advice
Looking for a quote or in need of some guidance?
Send us a message describing the project you’d like help with, along with a couple of photos, and we’ll get back to you with some ideas to help you.
Fitting your Blinds
step 1
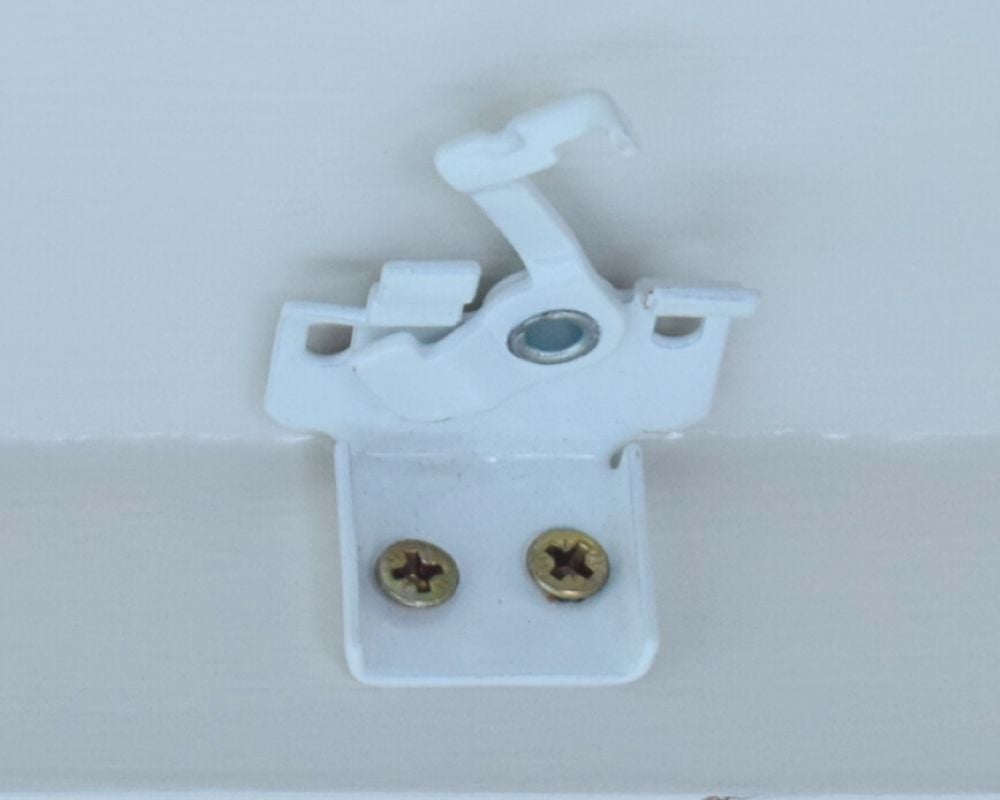
Roman Blind Bracket fixing
Fix brackets a bracket 10cm in from each side, for wide blinds fix remaining brackets supplied at regular intervals. Brackets are generally sent fixed to the headrail. Detach from the headrail by rotating the levers forward.
step 2
Roman Blind Reverse
Open all the levers on the brackets so that they are ready to accept the headrail. Closing the levers will lock your blind to the brackets when it is in place.
Step 3
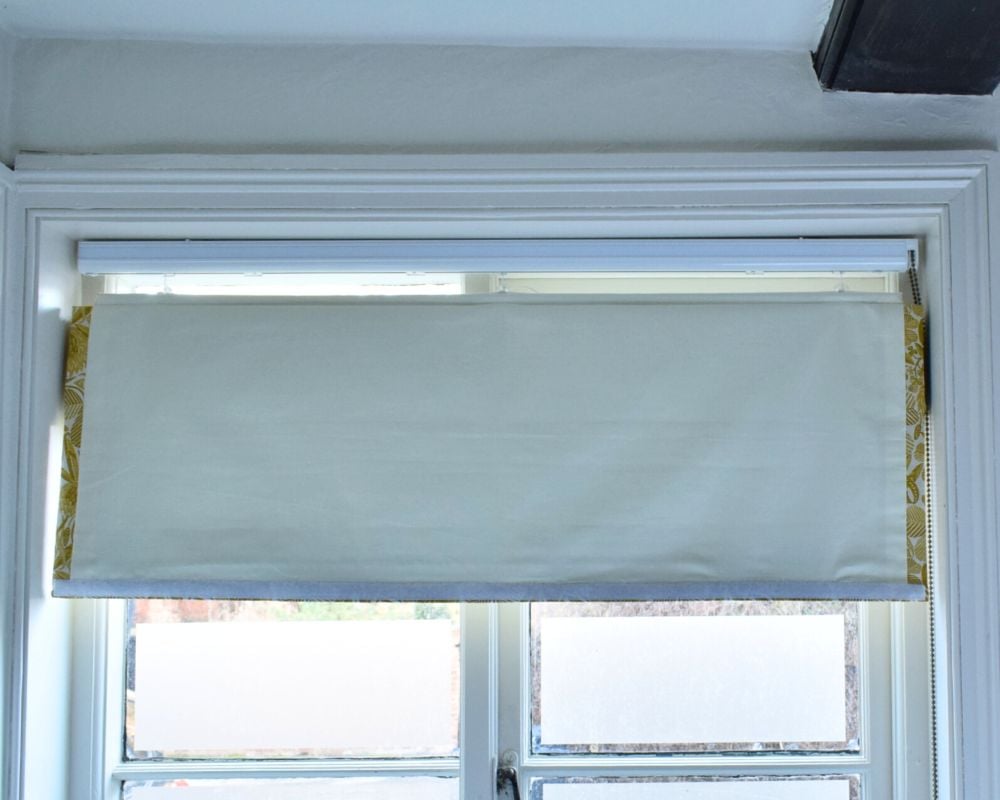
Roman Blind Velco Strips
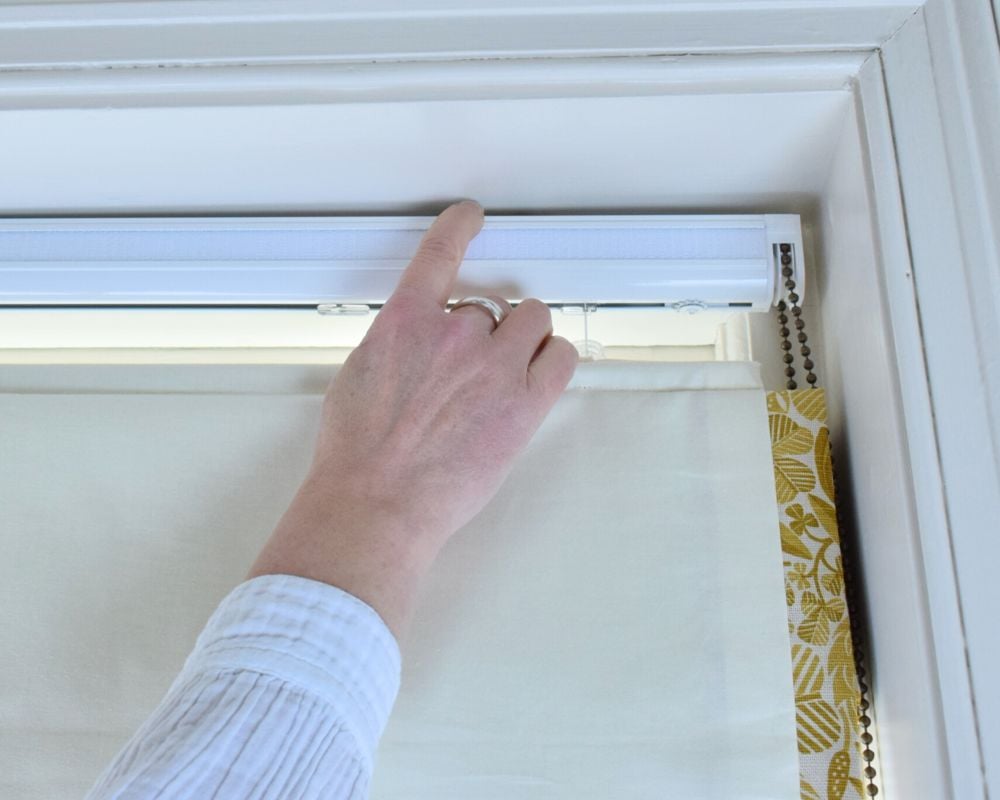
Separate the Velcro strips holding the top of the blind onto the headrail. Allow the top of blind to fall forward. Now you can see the headrail clearly as you fit it to the brackets.
step 4
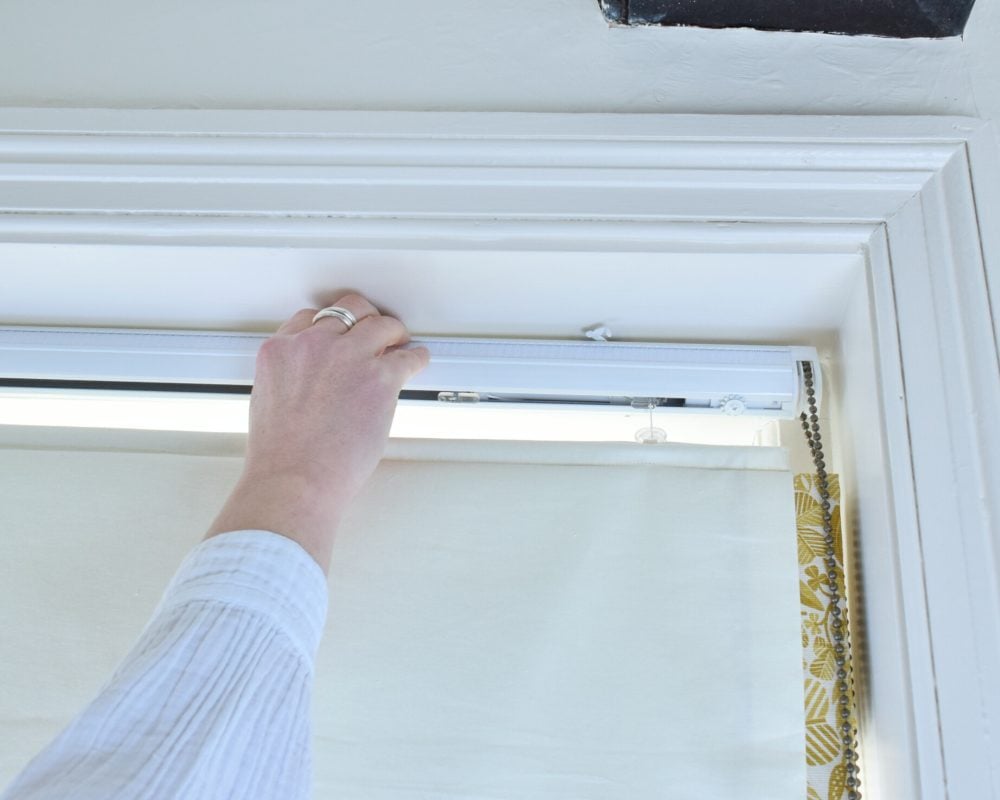
Bracket Forks in position
Present the headrail to the brackets ensuring that the ‘forks’ on the bracket are located into the channel at the top of the headrail. Close the levers, they should feel stiff to close. Once all levers are closed tilt the headrail forward and back to check that all brackets are securely locked.
step 5
Attaching Blind top to velcro
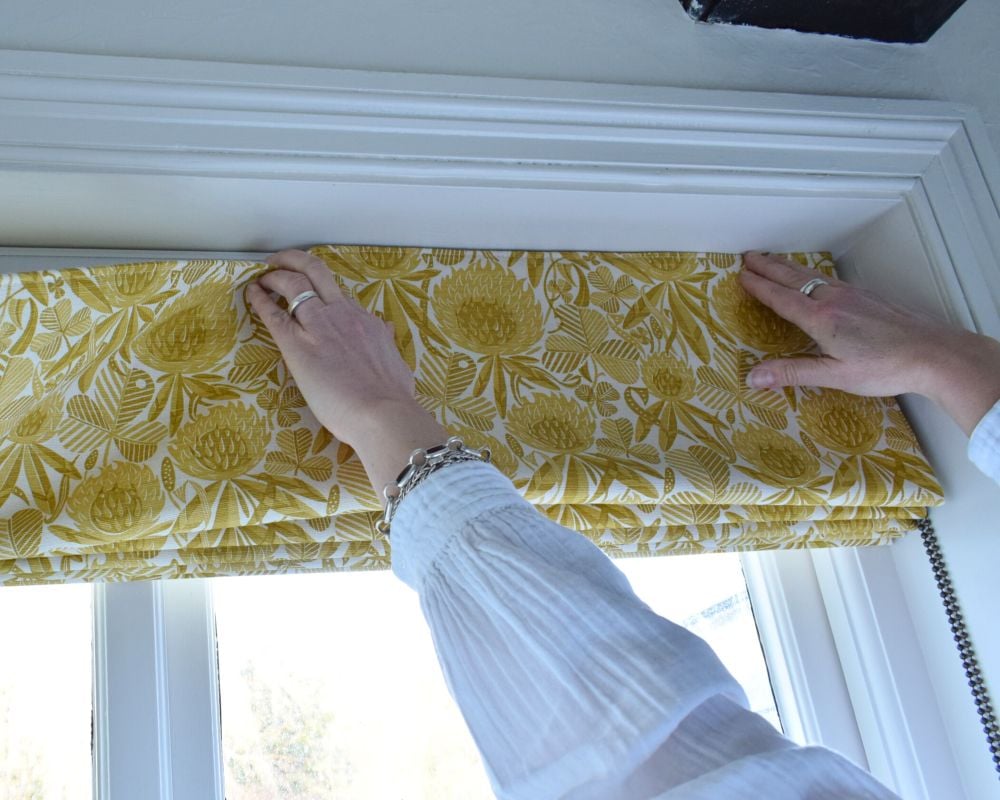
Complete the fitting by carefully replacing the top of the blind to the Velcro strip on the headrail. Fix the chain clip to at the bottom of the chain so that the chain is held in place but not pulling, it should move freely in the clip without snagging on it.
step 6
Child Safety for Blinds
Child Safety for Blinds:
- Do not tie cords together.
- Young children can be strangled by loops in pull cords, chains and tapes that operate this product.
- To avoid strangulation and entanglement keep cords out of reach of young children.
- Move cots, beds and furniture away from windows.
Price Guide
These prices exclude the cost of the fabric and include VAT. Tinsmith’s Roman Blinds are lined and blackout thermal interlined as standard.
Roman Blinds
| 50cm | 75cm | 100cm | 127cm | 150cm | 175cm | 200cm | 225cm | |
|---|---|---|---|---|---|---|---|---|
| 100cm | £174 | £258 | £298 | £321 | £384 | £415 | £452 | £492 |
| 125cm | £195 | £286 | £343 | £363 | £410 | £465 | £516 | £558 |
| 150cm | £215 | £304 | £372 | £398 | £465 | £522 | £620 | £647 |
| 175cm | £222 | £369 | £398 | £453 | £545 | £563 | £647 | N/A |
| 200cm | £243 | £405 | £453 | £512 | £652 | £721 | N/A | N/A |
| 225cm | £263 | £449 | £512 | £598 | £721 | £791 | N/A | N/A |